Russellhobbs Pearl Glide Steam Lilac Iron
Pearl Glide Steam Lilac Iron
PEARL GLIDE STEAM LILAC IRON
Code : 23974
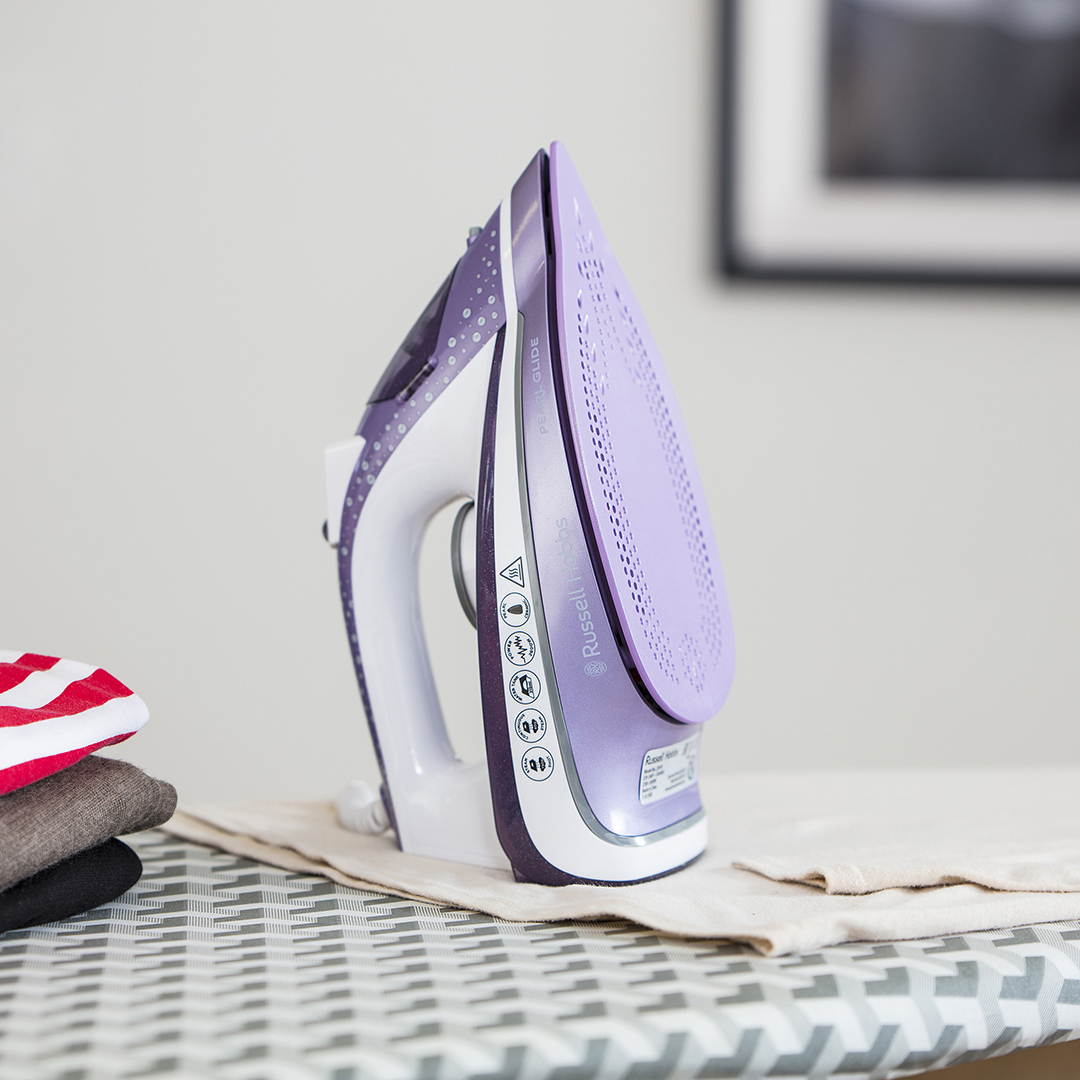
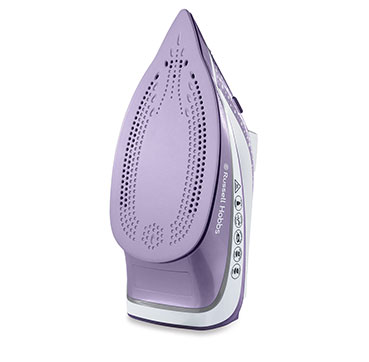
The Russell Hobbs Pearl Glide Steam Iron can tackle high piles of laundry with a 50%* smoother glide ceramic soleplate.With its beautifully designed housing it brings a dash of glamour to ironing. Features include 150g shot of steam, 40g continuous steam, anti-drip and self-clean function..
FEATURES
DURABLE SOLEPLATE FOR EFFORTLESS IRONING
The advanced ceramic soleplate provides additional durability so not only will it take on the toughest ironing challenges with ease and speed it will last longer too.

BREEZES THROUGH CREASES
Its advanced ceramic soleplate delivers a non-stick ironing experience, gliding through wrinkles and smoothing the most stubborn creases. It gives you a 150g shot of steam or a 40g continuous steam on a single fill and its variable ironing function means you can iron on the board or use a shot of steam to freshen up clothes on the hanger.

A WEALTH OF FEATURES BUILT-IN
Although it’s lightweight and easy to handle, a generous 315ml water tank means you don’t have to fill up so often. It has an anti-drip feature which helps prevent excess water from dampening or water-staining your clothes as you iron and its self-clean function helps prevent the build-up of limescale.

INFORMATION

BRAND
Russellhobbs
PRODUCTION
Made In UK
STANDARD CERAMIC
Vs Russell Hobbs Standard Ceramic
PRODUCT TYPE
Steamer
WATER TANK
315ml water tank
CLEANING
Self-clean feature
FEATURE
Anti-drip feature
STRUCTURE
Variable and vertical steam
PREPARATION
- Check for textile care symbols (i j k l).
- Iron fabrics needing low temperatures j first, then those that need medium temperatures k, and finish with those needing high temperatures l
DATA
Auto-shut off
DOWNLOAD
↓ Product Sheet

BEFORE USING FOR THE FIRST TIME
- Remove labels, stickers and packaging from the iron and soleplate.
- Don’t worry if the iron smokes a little at first. It will stop after a short time.
- Iron an old piece of cotton fabric, to clean the soleplate.
MODEL CODE
23974
DURABLE
2x more durable soleplate**
STEAM
40g continuous steam
OUTPUT
150g steam shot
SMOOTHER GLIDE
Pearl infused ceramic soleplate for a 50% smoother glide*
SWITCH ON
- Set the temperature control to • and set the steam control to S.
- Stand the iron on its heel.
- Put the plug into the power socket (switch the socket on, if it’s switchable).
- Turn the temperature control to bring the setting you want next to the marker. The light will come on.
- When the iron reaches the temperature you set, the light will go out. It’ll then cycle on and off as the thermostat operates to maintain the temperature.
SHOT OF STEAM
- Check that the temperature control is at S or higher.
- Lift the iron off the fabric.
- Press the hbutton.
- Leave 4 seconds between shots to let the temperature build up.

PARTS
- Temperature control
- Steam control
- Swivel cord
- Light
- Marker
- Heel
- Soleplate
- Spray nozzle
- Cover
- Water inlet
STEAM IRONING
-To steam iron, set the temperature control to S or higher. -Set the steam control to the setting you want, S no steam, S high steam. -Wait till the light goes out, then start ironing.
SPRAY
-Water spotting affects some fabrics. Test this out on a hidden part of the fabric : -Lift the iron off the fabric. -Aim the spray nozzle at the fabric. -Press the * button – you may have to press it 2 or 3 times to pump water through the system

DRY IRONING
-Set the steam control to S. -Set the desired temperature. Wait till the light goes out, then start ironing. -If you’re going to be dry ironing for 20 minutes or more, empty the reservoir first to avoid spontaneous bursts of steam.
VERTICAL STEAMING
-Remove wrinkles from hanging clothes, hanging curtains, and furnishing fabrics. -Check that there’s adequate ventilation behind the fabric, otherwise moisture may build up, causing mildew. -Check that there’s nothing behind the fabric that may be damaged by the steam. -Check that pockets, turn-ups, and cuffs are empty. -Check that there’s water in the reservoir.
1. Set the temperature control to max and set the steam control to S.
2. Hold the iron close to (but not touching) the fabric.
3. Press the hbutton then Leave.
4. Seconds between shots, to let the temperature build up.